Networking Example
Before using a REST API, it's essential to read its documentation. This will help you understand how to make API calls and how the response payload looks like.
NASA APOD API
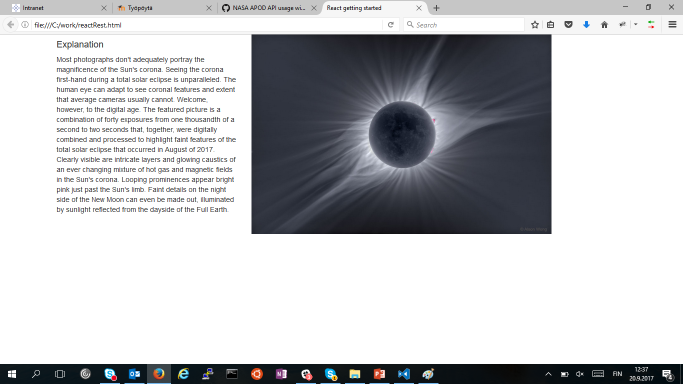
The following example uses the NASA APOD API, that displays daily astronomy picture or video (https://api.nasa.gov/). The example sends a request to the NASA APOD API and displays the daily image and explanation that we receive in a response.
Rest API can be called by using the following URL using the GET method:
https://api.nasa.gov/planetary/apod?api_key=DEMO_KEY
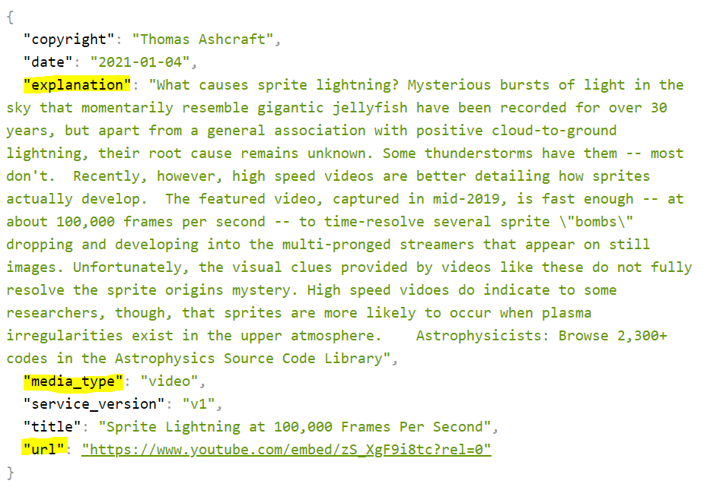
The response payload contains explanation and url properties. The media_type property can be used to check if the daily media is video or image.
Response
The response payload looks like the image below:
State for response data
We will create a React app that calls the NASA APOD API and displays the daily image and explanation. We need a state to store data from the response (image url, explanation, and type of media). Let's first define a type for our state:
type ApodData = {
  copyright: string;
  date: string;
  explanation: string;
  media_type: string;
  service_version: string;
  title: string;
  url: string;
}
The, we define a state where payload is stored:
// State to store payload
const [data, setData] = useState<ApodData | null>(null);
Defining types is not strictly required in this case. However, using explicit types improves code readability for other developers (or even for your in the future). For instance, useState<ApodData> clearly indicates the expected structure of the state. TypeScript will also alert you if you try to access a property that doesn't exist.
Fetch
The fetch API call is made inside the useEffect hook, and the second argument is an empty array because we want to send requests only once after the first render.
When the response arrives, the response data is saved to the data state, and UI is re-rendered automatically by React.
useEffect(() => {
  fetch('https://api.nasa.gov/planetary/apod?api_key=DEMO_KEY')
  .then(response =>  {
    if (!response.ok)
      throw new Error("Error in fetch: " + response.statusText);

    return response.json();
  })
  .then(responseData => setData(responseData))
  .catch(err => console.error(err))
}, []);
Display data
Then, we will use conditional rendering. We will check the media_type and render either an image or video. We use the optional chaining (?) to safely access data object that might be null or undefined.
if (data?.media_type === "image") {
  return (
    <>
      <p>Explanation: {data?.explanation}</p>
      <img alt="APOD image" src={data.url} />
    </>
  );
}
else {
  return (
    <>
      <p>Explanation: {data?.explanation}</p>
      <video controls width="500" height="500">
        <source src={data?.url} type="video/mp4" />
      </video>
    </>
  );
}
Or using inline conditional rendering
return (
  <>
    <p>Explanation: {data?.explanation}</p>
    { data?.media_type === 'video' &&      {
        <video controls width="500" height="500">
          <source src={data?.url} type="video/mp4" />
        </video>
    }
    { data?.media_type === 'image' &&
        <img  alt="APOD image" src={data?.url} />
    }
  </>
);
To show loading indicator, we can create a state to track the loading status. The intial value of the state is false
const [loading, setLoading] = React.useState(false);
We update it's value to true when the fetch starts. We then set it back to false using the finally statement, which executes whether the fetch succeeds or fails.
React.useEffect(() => {
  setLoading(true);
  fetch('https://api.nasa.gov/planetary/apod?api_key=DEMO_KEY')
    .then(response => {
      if (!response.ok) throw new Error("Error in fetch: " + response.statusText);
      return response.json();
    })
    .then(responseData => setData(responseData))
    .catch(err => console.error(err))
    .finally(() => setLoading(false));
}, []);
And we display text "Loading..." if the loading state is true.
if  (loading) {
  return <p>loading...</p>
}
else {
  return (
    <>
      <p>Explanation: {data?.explanation}</p>
      { data?.media_type === 'video' &&      {
        <video controls width="500" height="500">
          <source src={data?.url} type="video/mp4" />
        </video>
      }
      { data?.media_type === 'image' &&
        <img  alt="APOD image" src={data?.url} />
      }
    </>
  );
}
In the NASA APOD example, we made a network request using the useEffect hook because we wanted to display the APOD image once after the component is rendered the first time. When a request requires some user input, such as pressing a button, you can trigger the request within the button's onClick event handler, and the useEffect hook is not needed. You should avoid using unnecessary useEffects as it increases the complexity of the component.
In proper React applications, you might use some data fetching library such as Tanstack Query or SWR. By using these, you can significantly enhance the performance, reliability, and maintainability of your React applications. They provide a lot of nice features such as data caching, automatic refetching, error handling etc. Read more about useEffect alternatives in https://react.dev/reference/react/useEffect#what-are-good-alternatives-to-data-fetching-in-effects.
Further reading
- Tanstack Query: "Tanstack Query (formerly React Query) is often described as the missing data-fetching library for React, but in more technical terms, it makes fetching, caching, synchronizing and updating server state in your React applications a breeze." https://tanstack.com/query
- SWR SWR (https://swr.vercel.app/) is similar to Tanstack Query.