Writing workflows
Writing your first GitHub Actions workflow
Workflows are defined using YAML syntax (https://yaml.org/). Workflow files must have either a .yml or .yaml extension and they are save to .github/workflows directory in your repository. YAML syntax for Github workflows can be found here.
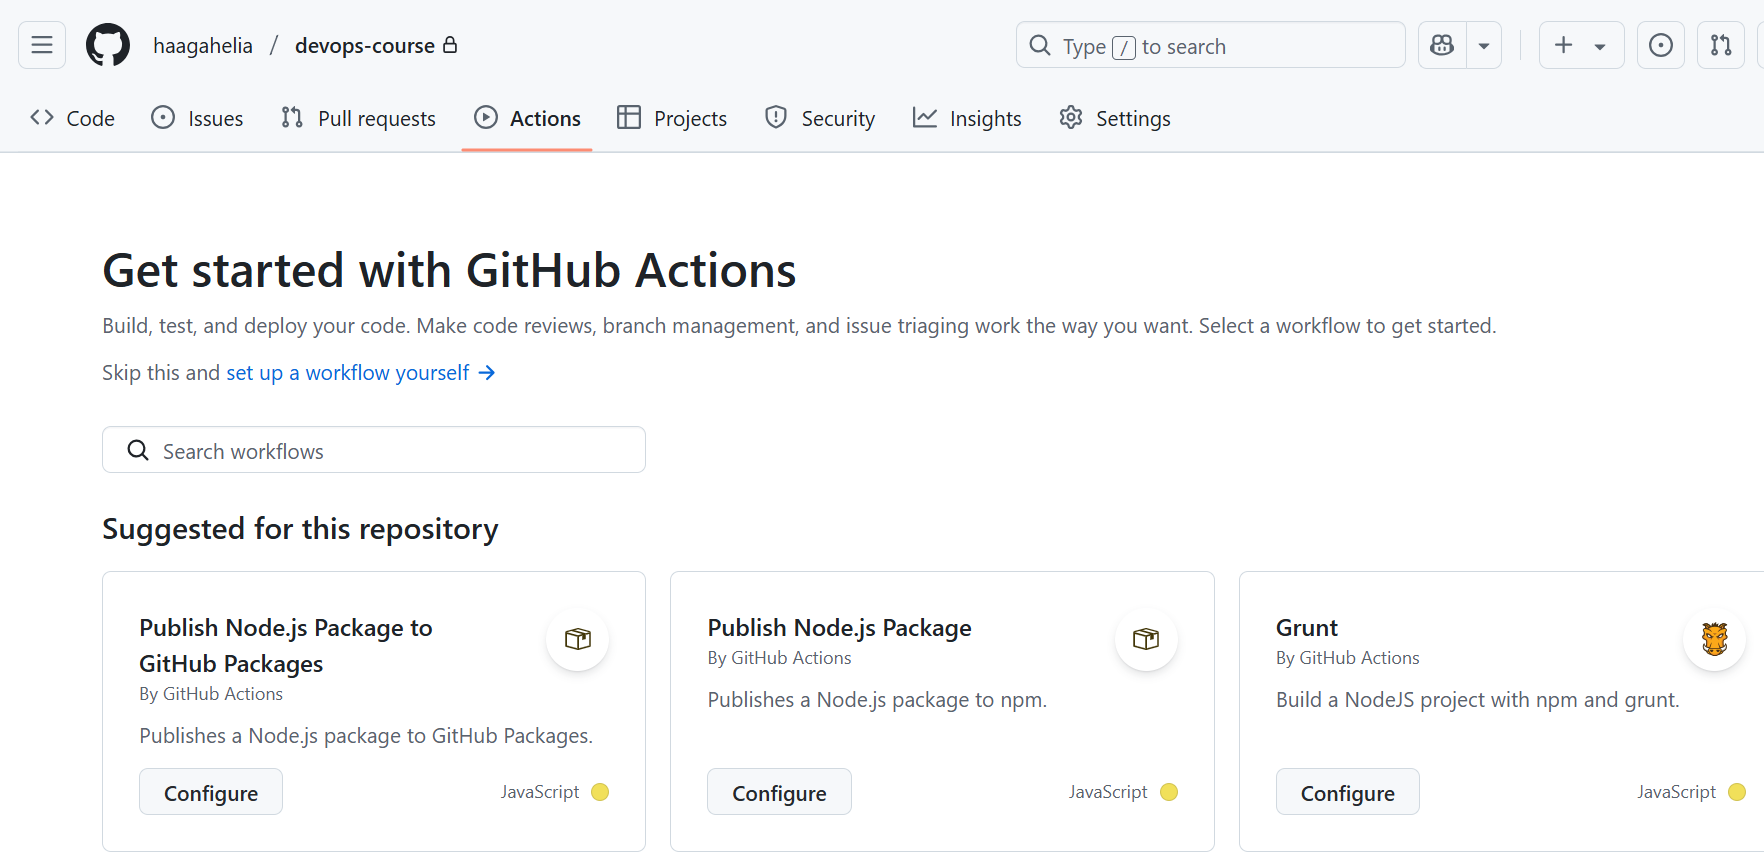
One way to create workflows is to navigate to your GitHub repository and open the Actions tab. There you can select pre-defined workflows or create your own by clicking 'set up a workflow' yourself as shown in the following image:
Create a new repository to Github and enable "Add a README file" to create README.md file to your repository Then, follow the instructions in https://docs.github.com/en/actions/writing-workflows/quickstart#creating-your-first-workflow to create and run your first Github actions workflow.
Here's an example of a workflow file similar to the one you have created in the task. Let's break down its structure to understand how it works:
name: GitHub Actions Demo
run-name: ${{ github.actor }} is testing out GitHub Actions 🚀
on: [push]
jobs:
  Explore-GitHub-Actions:
    runs-on: ubuntu-latest
    steps:
      - run: echo "🎉 The job was automatically triggered by a ${{ github.event_name }} event."
      - run: echo "🐧 This job is now running on a ${{ runner.os }} server hosted by GitHub!"
      - run: echo "🔎 The name of your branch is ${{ github.ref }} and your repository is ${{ github.repository }}."
      - name: Check out repository code
        uses: actions/checkout@v4
      - run: echo "💡 The ${{ github.repository }} repository has been cloned to the runner."
      - run: echo "🖥️ The workflow is now ready to test your code on the runner."
      - name: List files in the repository
        run: |
          ls ${{ github.workspace }}
      - run: echo "🍏 This job's status is ${{ job.status }}."
The name defines The name of the workflow.
The on defines the event or events that triggers the workflow (e.g., push, pull_request, schedule). You can define multiple events that triggers the workflow in the following way [push, pull_request]. Read more about events that trigger workflow in Github docs.
You can also limit the trigger to specific branches:
on:
  push:
    branches:
      - main
In this example, the workflow is configured to trigger whenever a push is made to the main branch of the repository. You can also use inline bracket list as shown in the following example.
on:
  push:
    branches: [main, develop]
The jobs section specifies a set of tasks that the workflow will execute. In this example there is one job that is named Explore-GitHub-Actions.
The runs-on defines that job runs on an ubuntu-latest virtual machine. You can also specify the ubuntu version for example, runs-on: ubuntu-22.04. Read more about choosing the runner for a job in Github docs.
The steps defines the individual tasks within a job. The run keyword is used to define a shell command or script that will be executed in a workflow step. Each run step executes a command directly on the runner (the virtual machine or container where the job is running).
Steps run sequentially, in order. Each step waits for the previous one to finish before starting.
By default, if one step fails the job stops immediately and any remaining steps in that job are skipped.
There are also multiline commands in steps such as:
- name: List files in the repository
  run: |
    ls ${{ github.workspace }}
This lists all files in the repository directory on the runner using the ls command. The ${{ ... }} syntax is used to access GitHub context variables. The ${{ github.workspace }} returns absolute path to the GitHub workspace directory on the runner. Read more in accessing contextual information
The | symbol in the run section of a GitHub Actions workflow is a YAML syntax feature *block scalar. It is used to write multi-line strings or commands in a more readable format. You can write multiple shell commands under one run block, for example:
- name: List files in the repository
  run: |
    echo "Listing files:"
    ls ${{ github.workspace }}
    echo "Done"
Multiple jobs
By default, when your workflow contains multiple jobs, they run in parallel. In the example below, there are three jobs: build, test, and deploy.
The deploy job uses the needs keyword to specify that it depends on the successful completion of both the build and test jobs. This means deploy will only start after both of those jobs have finished successfully, ensuring that deployment happens only if the build and tests pass.
name: Workflow with Dependencies

on: [push]

jobs:
  build:
    runs-on: ubuntu-latest
    steps:
      - run: echo "Building..."

  test:
    runs-on: ubuntu-latest
    steps:
      - run: echo "Testing..."

  deploy:
    needs: [build, test]
    runs-on: ubuntu-latest
    steps:
      - run: echo "Deploying app only after build and test succeed"
You can read more about needs syntax here.
GitHub has limits on the number of jobs that can run concurrently, which may vary based on your account type. Refer to the GitHub documentation for the details on these limitations.
Scheduling workflows
You can schedule GitHub workflows using the schedule event, which uses cron syntax to define when the workflow should run automatically.
The following example executes the workflow every Monday at 7:30 AM.
on:
  schedule:
    - cron: '30 7 * * 1'
You can add multiple schedules by listing more cron entries.
Multiple workflows
If you have multiple workflow YAML files in your repository, GitHub Actions will trigger and run them independently and in parallel when their respective on conditions are met. Each workflow runs in its own environment and does not wait for other workflows to finish unless you explicitly coordinate them.
To coordinate workflows, you can use workflow_run event to trigger one workflow after another completes. For example, you can configure a workflow to run only after another workflow has finished successfully.
on:
  workflow_run:
    workflows: ["Build"]
    types:
      - completed
This makes Test run only after Build workflow finishes. But by default it will trigger even if Build failed.
To prevent that, add an if: ${{ github.event.workflow_run.conclusion == 'success' }} at the job level:
on:
  workflow_run:
    workflows: ["Build"]
    types:
      - completed

  jobs:
    Deployment:
      if: ${{ github.event.workflow_run.conclusion == 'success' }}
      runs-on: ubuntu-latest
      steps:
        - run: echo "Running deployment..."
Using models in workflows
To start using GitHub Models in your Actions workflows, you need to grant your workflow access to AI models by setting the appropriate permission:
permissions:
  models: read
This permission allows your workflow to interact with AI models provided by GitHub. Once enabled, you can use model-based actions to automate tasks such as code review, generating summaries, or answering questions.
To learn, how to create your own AI assited workflow, you can watch Github video AI in your workflows.
GitHub Marketplace offers AI-assisted workflows for tasks such as code reviews, translations, and more.
For additional information, refer to GitHub Actions: Using models in workflows.
Next, we start to implement our first CI pipeline using Github Actions.