Split components
Let's refactor the todolist example application by breaking it into multiple components.
In this part, we use the todolist, which also includes a date field. You should Add Due date to your todolist.
We will add a new stateless component called TodoTable and separate it from the TodoList component. After splitting the components, our component tree is the following:
React data flow is one-way, from top to bottom, in the component tree.
The TodoTable component will be a child component of the TodoList component. Therefore, we can send data from the TodoList component to the TodoTable component by using the props.
Add a new file called TodoTable.tsx into the src folder. The starter code of the TodoTable component is shown below:
function TodoTable(props) {
  return <></>;
}

export default TodoTable;
We need to define the type for the props, which contains an array of todo objects and delete function. Therefore, we define a new type called TodoTableProps.
type Todo = {
  description: string;
  priority: 'low' | 'medium' | 'high';
  date: string;
}

type TodoTableProps = {
  todos: Todo[];
  handleDelete: (row: number) => void;
}

function TodoTable(props: TodoTableProps) {
  return(
    <></>
  );
}

export default TodoTable;
You will notice that we have defined the same Todo type in two files. Instead of doing that, it is better to create a separate file for defining types and then import these into the files where they are needed. Create a new file called types.ts in the src folder and define the types there.
export type Todo = {
  description: string;
  priority: 'low' | 'medium' | 'high';
  date: string;
}

export type TodoTableProps = {
  todos: Todo[];
  handleDelete: (row: number) => void;
}
Then, we import the type into the TodoTable component where they are needed.
import type { TodoTableProps } from './types';

function TodoTable(props: TodoTableProps) {
  return (
    <></>
  );
}

export default TodoTable;
Now, you can also remove Todo type definition in the TodoList component and import it from the types.ts file.
You might notice that we use the type keyword when importing types.
import type { TodoTableProps, Todo } from './types';
This is so called type-only imports. This tells TypeScript explicitly that TodoTableProps is a type that should only be used at compile time and not included in the runtime JavaScript output.
In Vite's TypeScript configuration is the setting verbatimModuleSyntax: true which requires type-only imports for types.
Next, we render table in the TodoTable component.
import type { TodoTableProps, Todo } from './types'

function TodoTable(props: TodoTableProps) {
  return(
    <table>
      <thead>
        <tr>
          <th>Description</th>
          <th>Priority</th>
          <th>Duedate</th>
          <th>Actions</th>
        </tr>
      </thead>
      <tbody>
        {props.todos.map((todo: Todo, index: number) => (
          <tr key={index}>
            <td>{todo.description}</td>
            <td>{todo.priority}</td>
            <td>{todo.date}</td>
            <td>
              <button onClick={() => props.handleDelete(index)}>Delete</button>
            </td>
          </tr>
        ))}
      </tbody>
    </table>
  )
}

export default TodoTable;
The TodoTable component will be a stateless component. The stateless components are easy to test because they are pure functions. They are also simple to understand because they are just functions that takes props as input and returns JSX.
Finally, import the TodoTable component into the TodoList component.
import TodoTable from './TodoTable';
Replace the HTML table element in the TodoList component's return statement with the TodoTable component. Pass the todos state and the handleDelete function as props to the TodoTable component.
return(
  <>
    <h3>My Todos</h3>
    <input
      placeholder="Description"
      onChange={event => setTodo({...todo, description: event.target.value})}
      value={todo.description}
    />
    <select
      title="Priority"
      onChange={event => setTodo({...todo, priority: event.target.value as 'low' | 'medium' | 'high'})}
      value={todo.priority}
    >
      <option value="low">Low</option>
      <option value="medium">Medium</option>
      <option value="high">High</option>
    </select>
    <button onClick={addTodo}>Add</button>
    <TodoTable todos={todos} handleDelete={deleteTodo} />
  </>
);
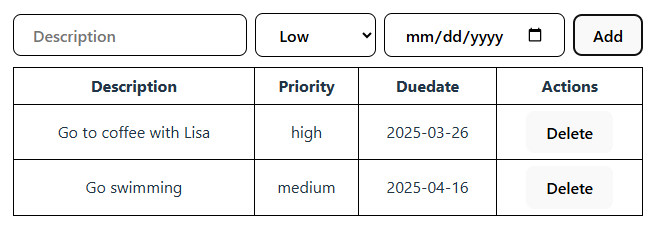
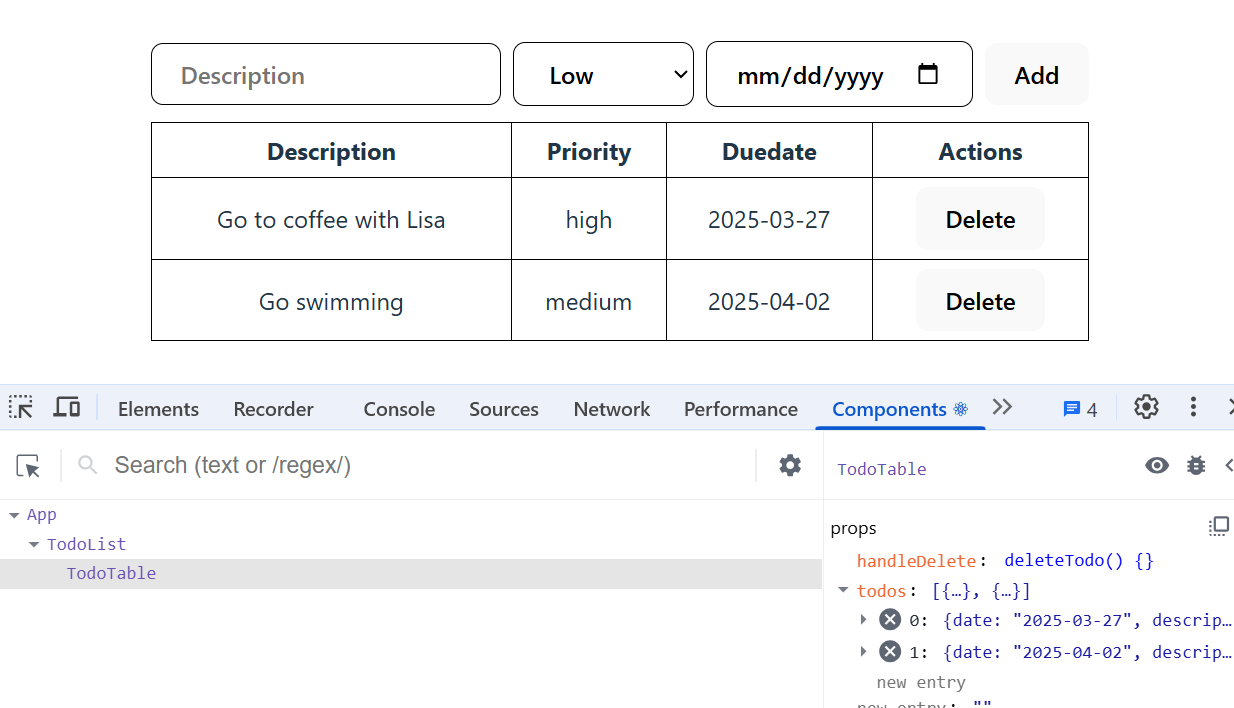
Now, the todolist app works as previously. If you open the React Developer tools, you can see new component tree structure.
We have now finalized out todo list app and in the next section we learn how to use third-party components and libraries.